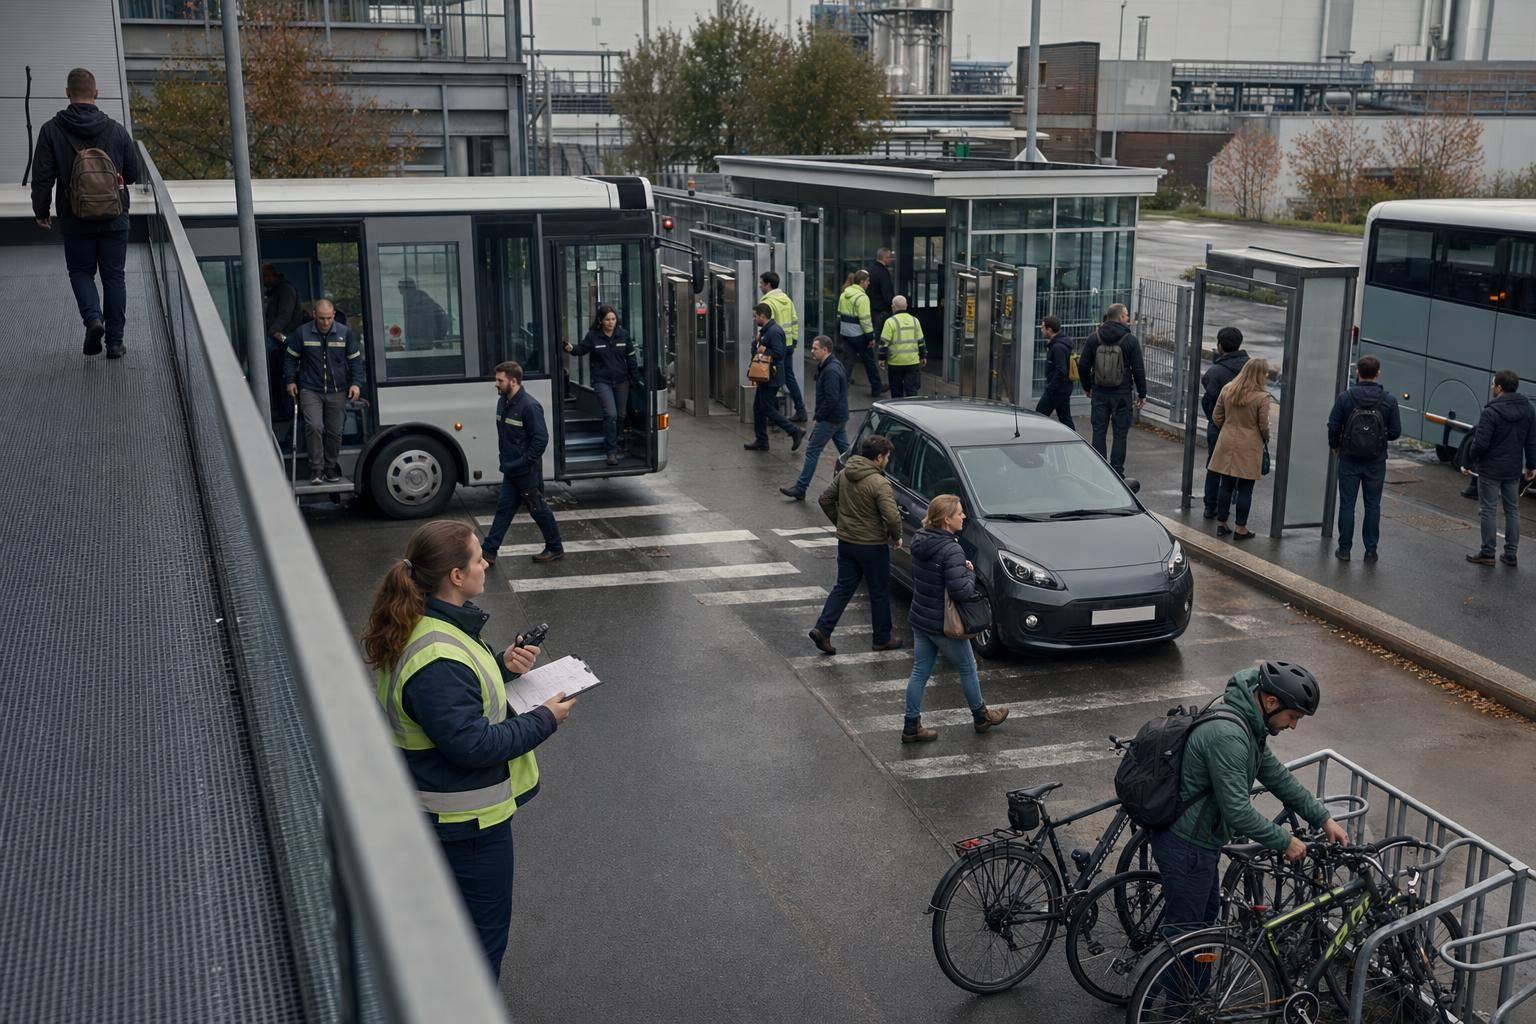
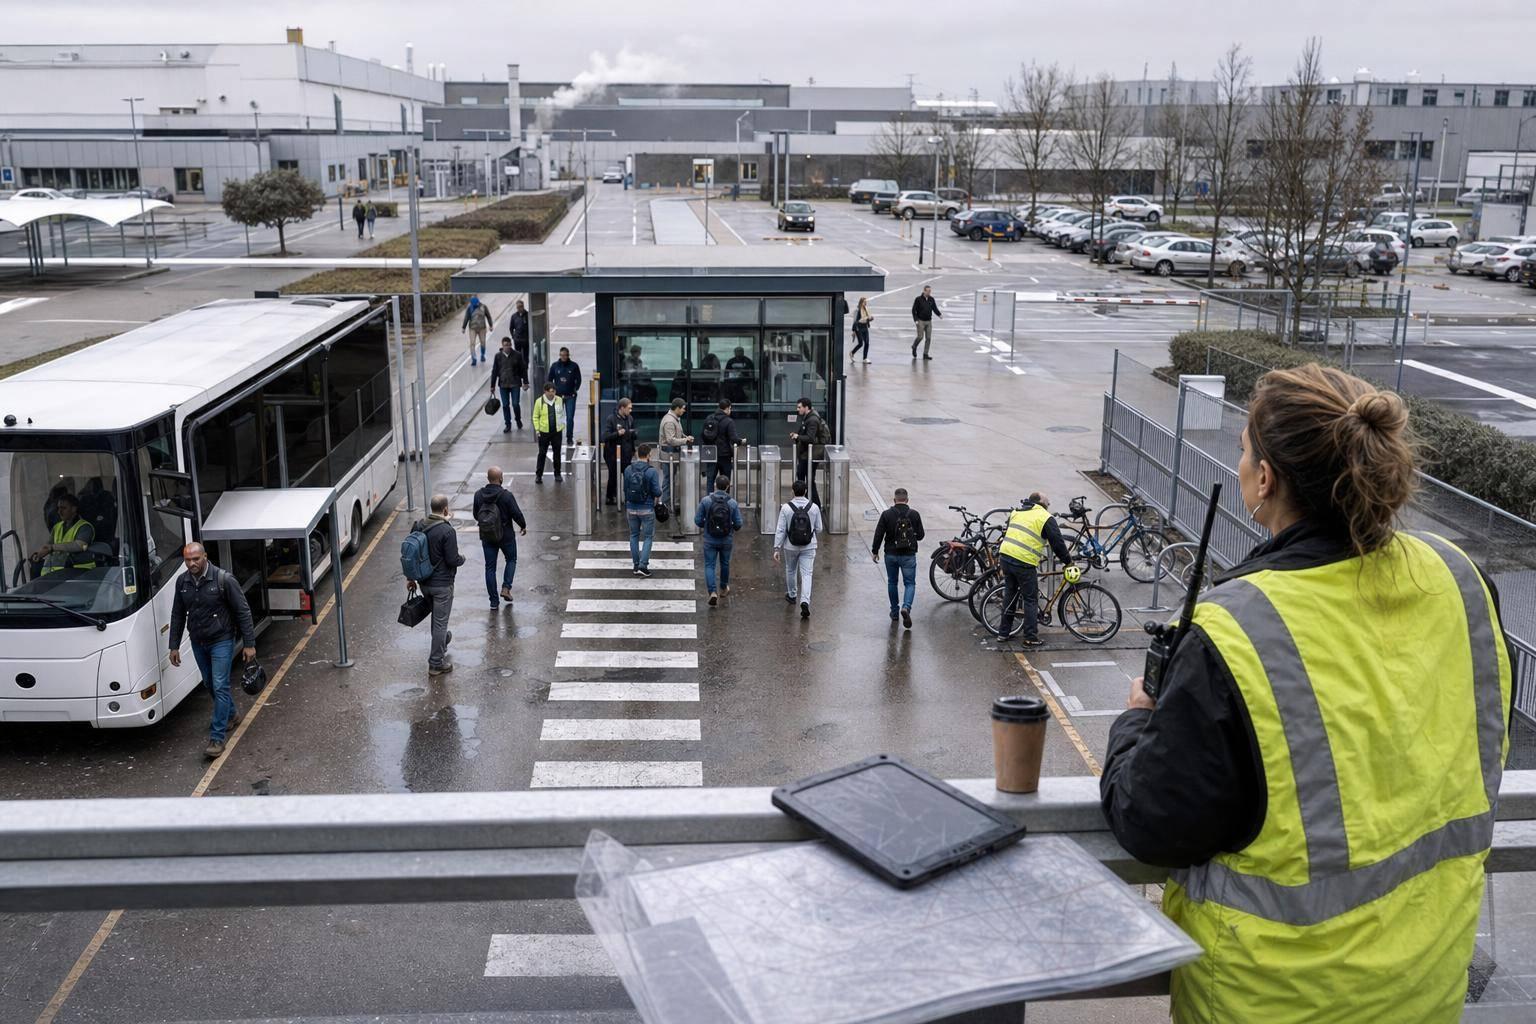
Model employee commute demand before contracting shuttles to boost load factor, cut cost per rider and reduce emissions.

Most shuttle route waste starts before the first bus runs. If you contract routes before you map where employees live, when they work, and which shifts drive demand, you risk low load factors, long detours, and a high cost per boarded rider.
Here’s the short version: You should model demand first, then contract the service. That means using HR postal code data, site and shift data, badge-in times, parking pressure, and street or vehicle limits to test route options in advance. This helps check who you can serve, how many seats may be filled, what each boarded rider may cost in €, and how shuttle changes affect Scope 3 Category 7.
In plain terms, the article shows how to:
A few points stand out:
Quick view of the planning flow:
| Step | What to check | Why it matters |
|---|---|---|
| Demand data | PLZ, shifts, badge-in data, parking, route limits | Builds one view of demand |
| Demand split | Steady vs shift-based trips | Stops me from mixing different trip patterns |
| Clustering | Home areas into pickup zones | Turns scattered demand into serviceable stop areas |
| Stop choice | Walking distance, safety, route fit | Cuts weak stops and detours |
| Scenario test | Coverage, load factor, € per rider, travel time, emissions | Shows trade-offs before tender |
| Contract input | Boardings by stop, shift demand, vehicle size | Gives operators a clear brief |
| Post-launch review | Actual vs modelled boardings | Helps me refine the service |
Bottom line: You should not fix a shuttle route on assumptions. You should test route options with data first, use the best-performing setup in the tender, and keep the model live after launch so the service can be reviewed against actual use.
In corporate mobility, shuttle route optimization starts before launch. You map where employees live, when they work, and how well public transport serves those areas. Then you model route options, estimate cost per boarded rider, and contract only the service that fits actual demand.
That baseline matters because it stops planning from drifting into guesswork. The next step is to turn it into a demand model.
Ad hoc stops often stay in place for one simple reason: they were added after a request, not because current demand still supports them. Bit by bit, a route picks up old stops that reflect past choices instead of where employees actually board today.
That leads to a low load factor. Vehicles run partly empty across parts of the route where only a few employees get on. And when that happens, cost per boarded rider goes up, because the fixed cost of the vehicle and driver is spread across fewer passengers. So a route can look perfectly reasonable on a map and still perform badly in practice.
Some route choices are too important to rely on instinct. Stop spacing, pickup-point type, and walking distance should be modelled together, not one by one. Inbound and outbound trips also need separate modelling, with departures matched to shift changes.
This is especially important in manufacturing. If a shuttle does not line up with shift changes, ridership can drop.
The same goes for network design. A single trunk route can work well when demand is concentrated along one clear corridor. Multiple feeder routes can serve more spread-out residential clusters, but they bring more complexity and higher cost. The better option depends on how your employees are distributed.
That is why the next step is to cluster home locations and test stop candidates against real demand.
Start with the data you already have. Then fill any gaps with a short survey. The aim is simple: build one demand view before you plan a single route.
A useful commute model begins with employer data already on hand. The core inputs are:
| Data source | How you use it |
|---|---|
| Home PLZ, or postal codes, from HR | Map residential distribution across the catchment area |
| Site locations | Anchor the model to each workplace |
| Shift patterns | Separate all-day demand from shift-specific demand |
| Badge-in data | Identify actual arrival and departure windows by site and shift |
| Parking data | Gauge car dependency and site pressure |
| Vehicle access, depot hours, and street restrictions | Filter out route options that cannot run in practice |
You can build a first model from these sources without surveying every employee. A short survey can still add more detail, but you don't need it to get started.
Use one shared commute model across sites. That way, you compare demand, cost per boarded rider, and load factor on the same basis.
Not all demand looks the same during the day. Some employees work standard office hours, which creates a fairly predictable morning and evening peak. Others move across shifts, so their arrival and departure windows change with the schedule.
That difference matters when you design routes. Stable demand fits a fixed timetable with steady stop times. Shift-specific demand needs departures that match actual shift changes, which can vary by site and by day.
Badge-in data is the cleanest way to spot recurring arrival windows. It shows when employees actually arrive, not just when they're meant to. Once you have that view, you can split the stable baseline from the shift-driven peaks and model each one on its own.
From there, you can cluster home locations into pickup zones and test stop candidates.
Start with your stable-demand map and group home PLZs or coarse coordinates into pickup clusters. The goal is simple: plan the route at pickup-point level, not door-to-door.
Use spatial clustering methods to group nearby home locations into serviceable clusters. Then adjust cluster size until each zone is large enough to support shared pickup points, but not so large that it leads to long detours or a weak load factor.
From there, shift from broad residential clusters to actual stop candidates. In plain terms, a cluster tells you where demand lives. A pickup point tells you where the bus should stop.
Pick stops that can carry real demand and keep operations easy. That usually means looking for points that:
Score each pickup-point candidate against four things: cluster fit, walking distance, and route feasibility. A stop may look good on a map, but if it adds avoidable detour, extra dwell time, or higher cost per boarded rider, it can hurt the whole route.
That’s the trade-off. A stop that’s a bit closer for a few riders can still be the wrong call if it slows the service down for everyone else.
Keep only the stops that match actual demand and work in practice. Every extra stop that fails this test pushes up cost per boarded rider and weakens load factor before the route is even contracted.
Take that shortlist into route scenarios and test it before you sign an operator contract.
Once you’ve shortlisted your pickup points, the next step is simple: build a few route options and pressure-test them with actual commute data before you sign anything.
That matters because a route can look fine on paper and still fall apart in day-to-day use. One version may cover more employees but take too long. Another may cut travel time but leave too many people out. If you test route variants first, you’re working from evidence instead of guesswork.
Use commute modelling to test route variants against your actual commute data before you sign the operator contract. Use the stable-demand and shift-specific demand split from your model to test each route variant.
Then compare each scenario using the numbers that matter most for your site and shift pattern:
This kind of comparison helps you spot trade-offs early. For example, a route with strong coverage might also come with longer trip times or lower seat use. Another route might serve fewer people but do a better job on cost and emissions. Seeing that side by side makes decisions a lot clearer.
Simulation results should become the evidence base for your service specification. In other words, don’t leave core service choices to assumptions once the tender goes out.
Include things like:
That gives operators a clearer brief and helps you compare bids on a like-for-like basis.
Because the contract locks in service levels and costs, model first and contract second. When you test scenarios first, you keep route design flexible for longer and can contract the variant that performs well in simulation.
That same demand model becomes your live performance baseline.
Once the shuttle is up and running, keep the model active and review performance against it. Track load factor, cost per boarded rider, and employee coverage so you can see where actual boarding counts drift from your projections.
When the shuttle is running, compare actual boarding counts with your model to spot gaps in load factor, cost per boarded rider, and employee coverage.
When gaps show up, adjust stops and departure times. Then run the same review cycle again. That lets you update stop placement and departure times, and then recalculate Scope 3 Category 7.
Use the same commute model for both shuttle operations and Scope 3 Category 7 reporting. That way, any stop or timetable change feeds straight into both.
Model demand before you sign a contract. Then keep that model live so you can refine coverage, cost, and emissions as the service runs.
If you want to test your own site data before you commit, book a demo and model your shuttle routes with triply's pre-investment commute modelling before you sign anything.
Start with real commute data, above all where your employees live and how demand groups around home locations. That gives you a much better base for mapping pickup points to actual demand instead of making an educated guess.
From there, you can model route options and test the trade-off between coverage and cost before an operator contract fixes those routes in place. This is general information, not legal or tax advice.
Choose pickup points based on actual commute demand, not gut feel. Start by mapping where people live, grouping home locations, and lining up pickup points with the areas that show the strongest demand.
Then check coverage against cost before you lock in any route contracts. That way, you can compare stop patterns side by side and see which setup fits your workforce best.
You should update routes when commute demand changes. Route plans need to be modelled and tested before an operator contract locks them in, so pickup points and coverage still match actual demand instead of guesswork.